I discovered that the Chinese knew it almost 2000 years ago, and it was used in a most peculiar way: to differentiate the movement of two wheels of a chariot so that, with some additional gearing, a pole would always point to the same direction. It was referred to as the "South-pointing chariot".
Not only it is fun to see and to build, it also helps understanding how differential gearings work (which has always looked like pure wizardry to my eyes). While there are many descriptions of how to build it with Lego (or Meccano) parts, none of them would fit to my available set of pieces: a Lego Mindstorms set, plus a Lego Technic 8287 kit (which only provides the differential gear). Moreover, many realizations just aim at a compact and good-looking object, while I preferred a sparse design with all the inner workings clearly visible.
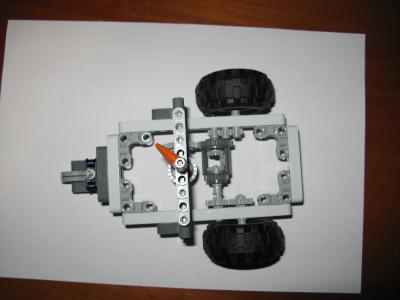
How it looks like
Here are some photos:
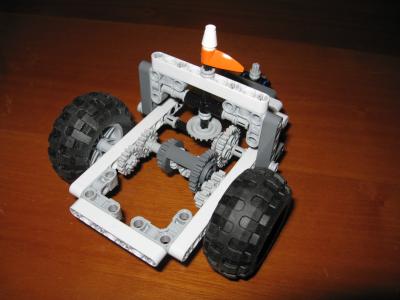 |
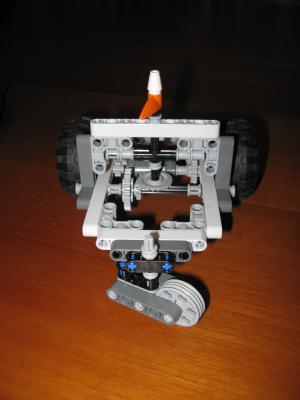 |
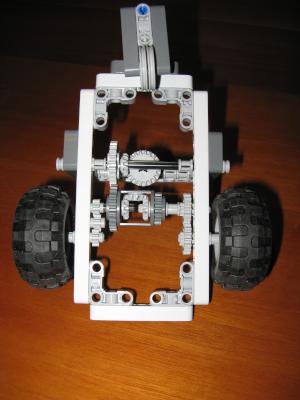 |
| Front (or rear?) view | Rear (or front?) view | Bottom view |
How it works
Besides referring to the Wikipedia article, here is a video clip that provides some hints. Anyway, once you have built it, its inner workings become clear!
How to build it
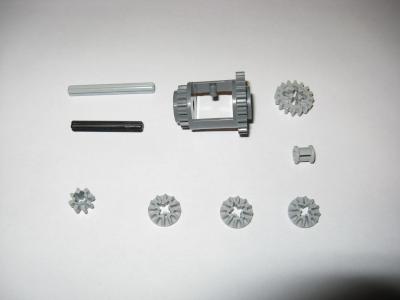 Let's start with the differential.
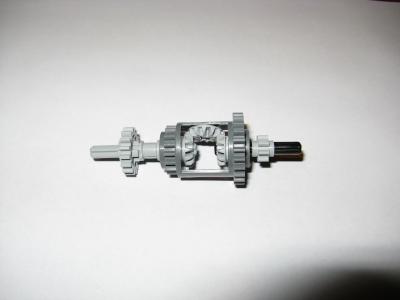
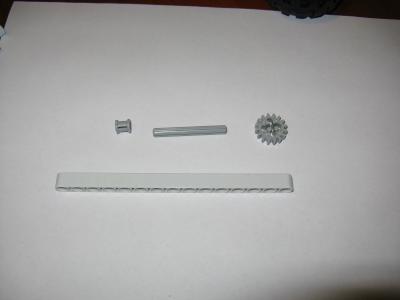 Then, let's move to the left wheel axle.
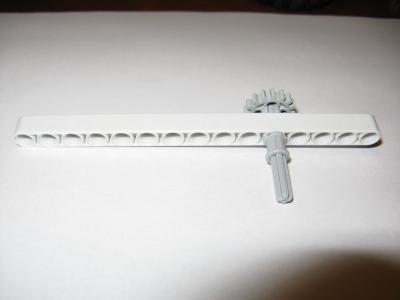
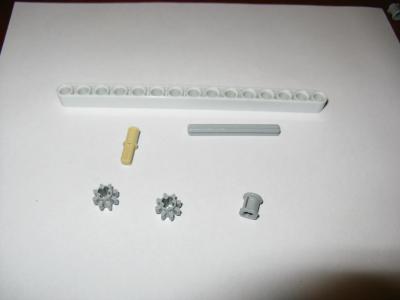 Now it's time for the right wheel axle.
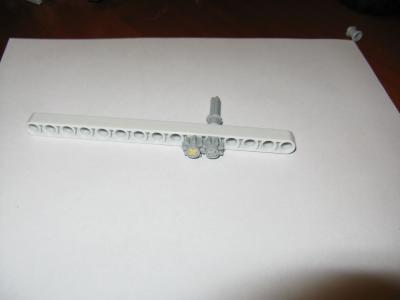
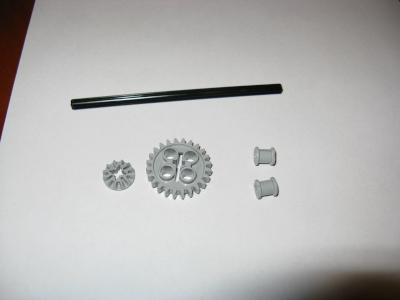 An internal gear to transmit the motion to the south-pointing vertical pole.
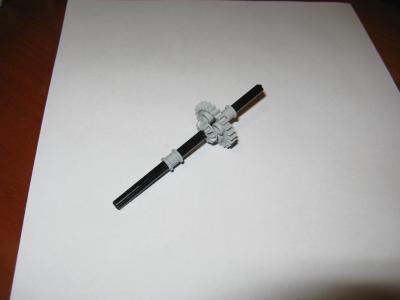
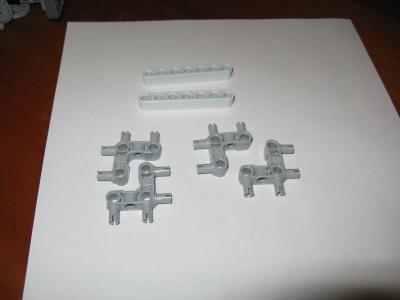 Structural elements for the frame.
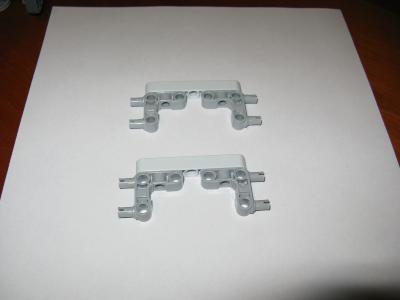
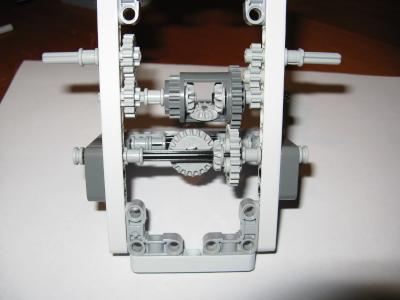
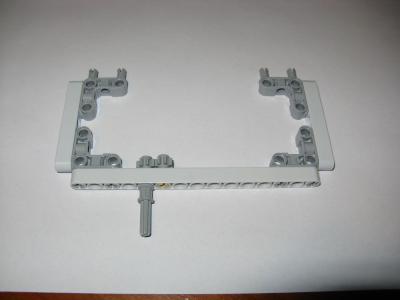 Let's start putting things together!
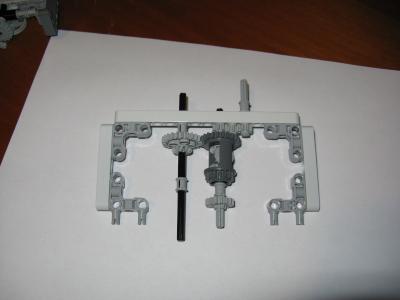
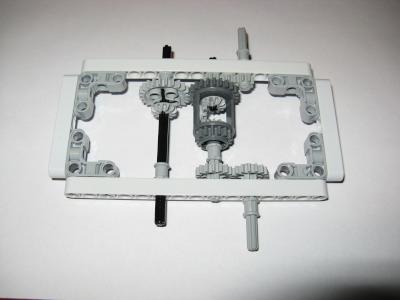 Once these pieces are put together, adjust the elements until axles don't slip horizontally;
however, provide that everything turns freely. If you turn the two wheel axles (the grey protruding ones)
in the same direction, the differential box should not turn.
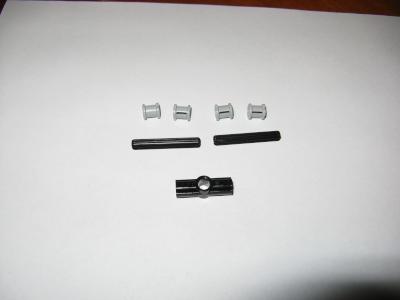 It's time for some structural elements of the vertical pole!
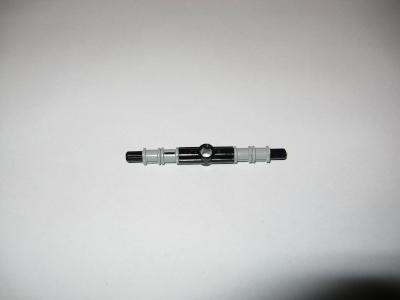
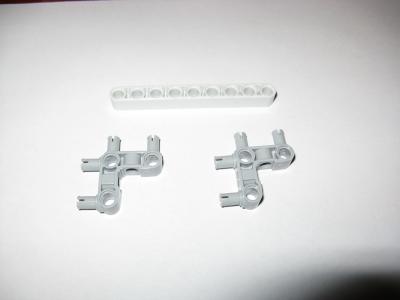
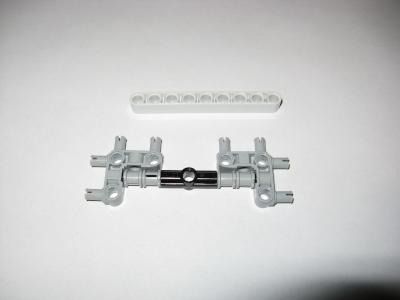
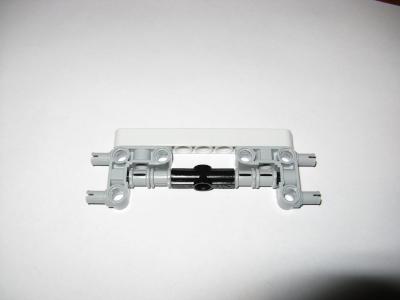
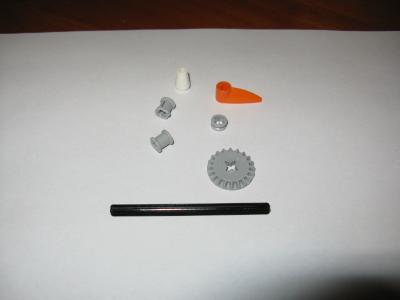 Let's build the indicator pole, now.

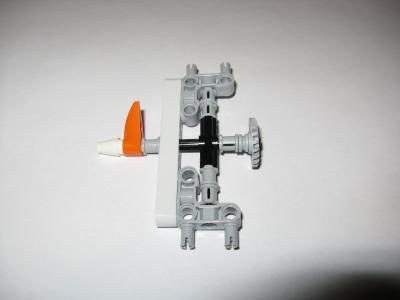
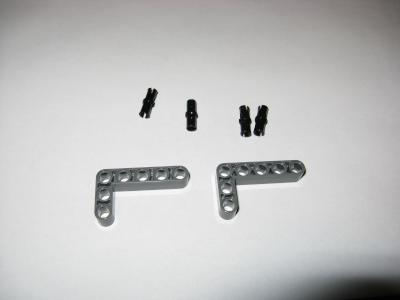 Now the vertical element must be joined to the rest.
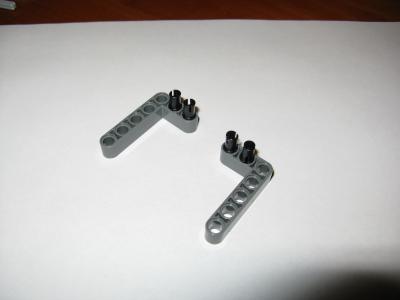
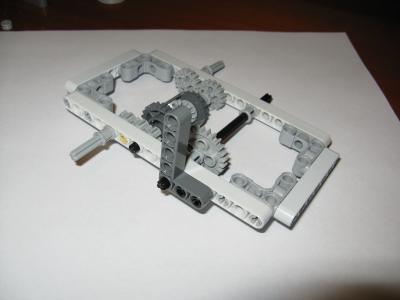
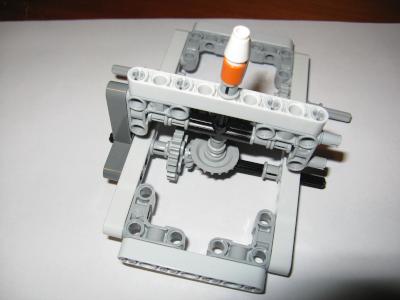
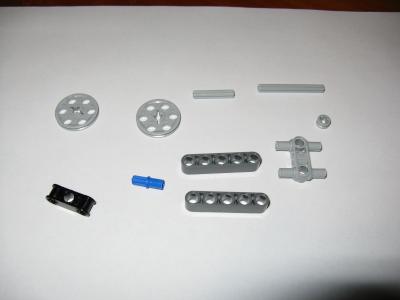 The back wheel, now.
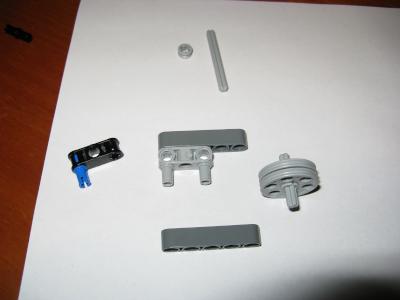
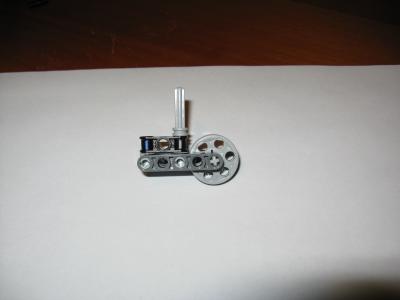
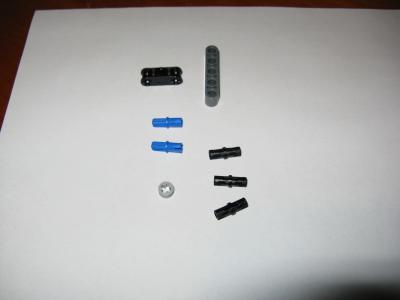 The anchor for the back wheel.
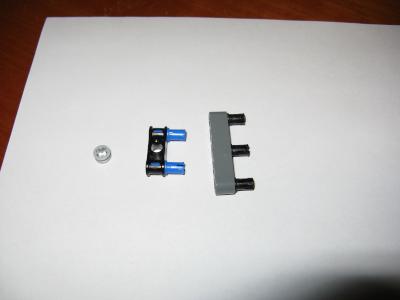
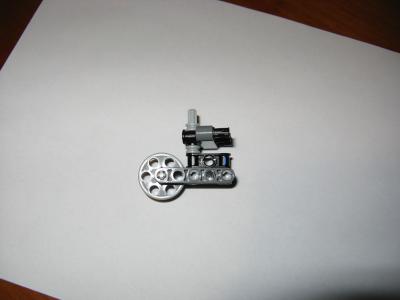
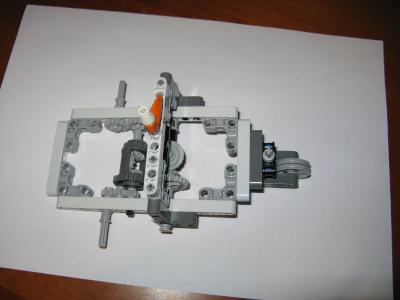 Finally, let us join the back wheel...
 ...and the two side wheels.